Creating A Mailchimp Account
If you're looking for an easy way to integrate Mailchimp into your WordPress site, you've come to the right place! In this article, we'll teach you how to create an account, install the necessary plugin, and use Mailchimp to its fullest potential.
How to Install Mailchimp in WordPress
Before we get into the good stuff, let's go over everything you need to do to install Mailchimp in WordPress.
Step-by-Step Guide
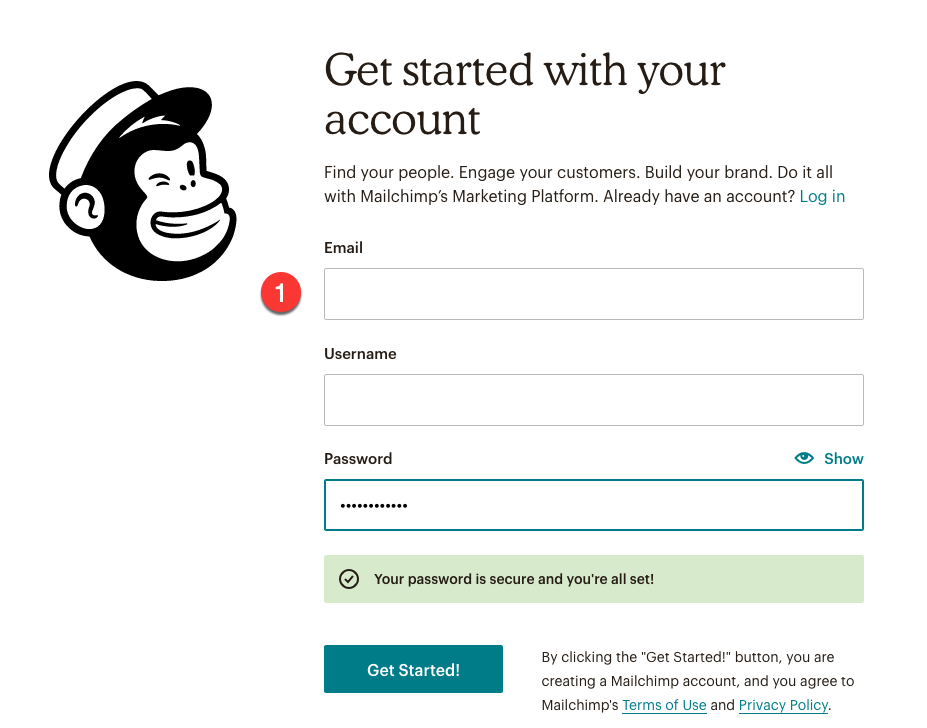
1. Create a Mailchimp account by visiting the Mailchimp website and signing up.
2. Install and activate the official Mailchimp for WordPress plugin from the WordPress Plugins Library.
3. Connect your WordPress site to your Mailchimp account by entering your API key under the Mailchimp for WordPress General Settings.
4. Add a Mailchimp sign-up form to your WordPress site. You can do this by using the Gutenberg Block Editor or the Mailchimp for WordPress widget.
5. Configure settings to suite your needs and preferences.
Tips for Using Mailchimp in WordPress
- Don’t use too many Mailchimp forms on your WordPress site. Stick to one or two forms to avoid overwhelming your users.
- Add opt-in incentives to your sign-up forms to encourage people to subscribe to your newsletter or mailing list.
- Integrate Mailchimp with other popular WordPress plugins to make the most of your email marketing.
With these tips and tricks under your belt, you're ready to start using Mailchimp in WordPress! Happy emailing.
Post a Comment for "Creating A Mailchimp Account"